Monday 20 August 2018

Methi Masala khakhra ~ Gujarati Methi Masala Khakhara recipe

Today's post is Gujarati special snack, Methi masala khakhra. It is very crispy, tasty and yummy. We can prepare Khakhra chat with this khakhra's as evening snack. It is very easy to prepare just like roti's/chapathi. We have to roll it very thin roti's to get crispy khakhra. It is good snack while traveling long distance. I will post khakhra chat recipe soon.


Also check other snack recipes..


Masala Peanut chat
Bhakarwadi
Corn flakes chivda
Ajwain patte ke bajji


Gujarati Methi Masala Khakhra


Preparation Time :  10 minutes  

Cook Time : 30 minutes
Serves : 7 Khakhra's
Category : Snack/breakfast
Recipe Cuisine:  Gujarati
Main ingredients : dry Methi leaves
Author : Aruna

Ingredients 


Wheat flour - 1 cup

Gram flour - 2 tsp
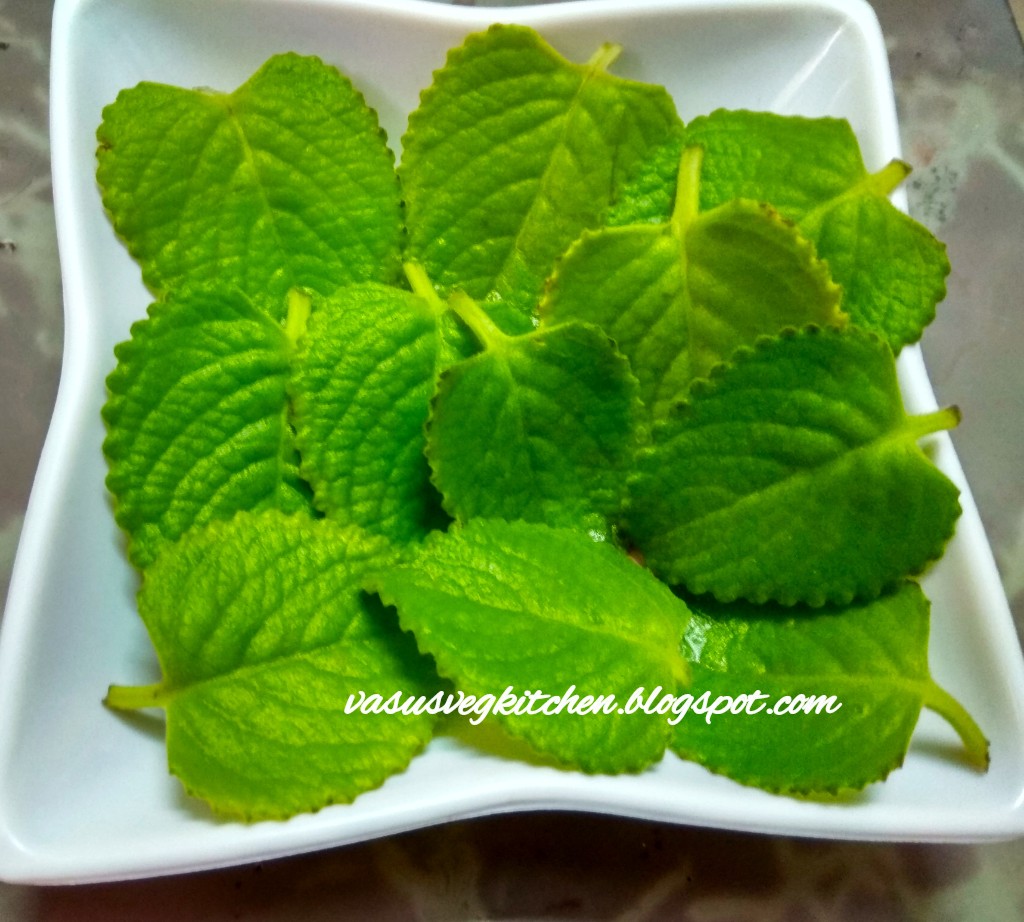
dry Methi leaves/kasuri Methi - 2 tsp
Carom seeds/Ajwain/vaamu seeds - 1 tsp
Cumin seeds - 1 tsp
Turmeric powder - 1/4 tsp
Red chilli powder - 1 tsp
Salt as per needed 
Hing - 1 pinch
Oil - 2 tsp


Instructions to prepare Methi masala Khakhra


1) Take all the ingredients except oil in a plate.


2) Mix all the ingredients well and add 11/2 tsp of oil and mix it well.


3) Now mix the above by adding water little by little and give it dough consistency. Knead the dough smoothly.


4)  Now add remaining 1/2 tsp oil on dough, close the lid and rest it for 15-20 minutes.


5) After 20 minutes, divide the dough into equal parts and give it small ball shape.


6) Dust some wheat flour on board and roll it into chapathi using rolling pin.


7) Roll into very thin chapathi as shown below. Dust wheat flour if need while rolling. 


8) Take tawa heat it, place prepared chapathi heat it for 30 seconds on medium flame. You will see bubbles forming on chapathi. Take a cloth fold it and start pressing on the bubbles by rotating it as shown below. 


9) Repeat the above both the side by rotating on low flame till it becomes crispy. 


10) Take the above khakhra into plate and repeat the process for remaining chapathi. 


Crispy, yummy and delicious Gujarat Methi Masala khakra is ready to serve 😋😋. You can prepare khakhra chat, or have it with pickle or masala/plain curd.


Check video with step by step pics.. 


Note


◆ You can also prepare khakhra by applying oil while preparing. 

◆ Cool the khakhra after preparation then store it into container. 

Tips


● Roll Chapathi very thin to get crispy khakhra. 

● Fold cloth well while making chapathi's otherwise it will hurt your hands. 

● You can also use wooden press instead of cloth. 

Also follow me

In facebook @Facebook
In Google+ @Google+
In pintrest @pintrest
In Instagram @Instagram Also drop your feedback 🤗😍.

You can also search recipe in BetterButter


Thanks for visiting my blog,
ArunaSaraschandra 😄


Saturday 18 August 2018

Homemade Rasam powder, how to prepare Rasam powder

Homemade rasam powder is very flavourful spicy powder which is aromatic . It is easy to prepare rasam if rasam powder is ready. Rasam powder is prepared in different ways in different areas, but coriander  seeds, cumin seeds and pepper are common in every rasam powder. Rasam is regularly prepared in south Indian Thali for lunch. This rasam powder is used for Tomato Rasam, Lemon Rasam. I prepare rasam powder twice a month. Instead of buying Rasam powder from shops, try to prepare homemade fresh rasam powder you will love the taste and aroma of rasam😍. As we use cumin seeds and pepper in rasam powder it helps in digestion.  
Also check other podi and homemade recipes

Homemade butter
Andhra spicy coconut powder
Curry leaves powder 
Peanut powder 


       Homemade Rasam Powder

Preparation Time :  10 minutes  

Cook Time : 10 minutes
Serves : 1 cup
Category : Podi/Homemade
Recipe Cuisine: South Indian
Author : Aruna

Ingredients 


Coriander seeds - 1 small glass

Toor dal - 1/2  glass
Chana dal - 2 tsp
Cumin seeds - 3 tsp
Black pepper - 1 tsp
Fenugreek seeds - 1/2 tsp
Red chillies - 10
Curry leaves - handfull
Hing - 1 pinch
Oil - 1/4 tsp to fry red chilli


Instructions to prepare Rasam Powder

1) Take a pan add coriander seeds fry it till changes color and get nice aroma. Fry all the ingredients without using oil except red chilli.


2) Take the above fried coriander seeds in plate. Then add toor dal and Chana dal fry it till changes color.


3) Take the above into plate and add cumin seeds and fry it, till you get nice aroma. And take it into plate,.


4) Now add pepper and fenugreek seeds fry it and take it into plate.  Add red chillies and 1/2 tsp of oil  fry it and take it into same plate.


5) In the same pan add dry curry leaves fry till it become crispy.


6) Take all the fried ingredients & hing into plate and let it cool.


7) After cooling take all the above ingredients into mixer jar and grind it into fine powder.


8) Take the above into plate let it cool for few minutes and store it into air tight container.


Aromatic rasam powder is ready to prepare rasam 😋😋


Check the video with step by step pics..


Note

◆ Adding Chana dal and curry leaves gives nice taste and flavor to the rasam powder,.

◆ Use byadgi red chilli to get good color to rasam powder.

◆ Adjust red chillies nd pepper as per your taste.

Tips

● I  prefer dry frying the ingredients to increase the shell life.

● Adding Chana dal will slightly thickens rasam.

● Having Rasam rice will give good relief to throat while suffering from fever, cold and cough.


Also follow me
In facebook @Facebook
In Google+ @Google+
In pintrest @pintrest
In Instagram @Instagram Also drop your feedback 🤗😍.

You can also search recipe in BetterButter


Thanks for visiting my blog,
ArunaSaraschandra 😄


Thursday 16 August 2018

Kothimira Tomato pachadi, Coriander tomato chutney

Kothimira Tomato pachadi  is very easy chutney recipe to prepare. This chutney goes well with idli, dosa, steamed rice. It also goes well with roti's. Coriander leaves flavour increases your appetite😋. When you feel bored with normal chutney's for idli and dosa's prepare this corainder chutney.  
You may also like other chutney recipes of mine, check it out

 Kobbari perugu pachadi

 Pudina chutney
Ridge gourd peel chutney
Coconut chutney


        Kothimira Tomato pachadi


Preparation Time :  5 minutes  

Cook Time : 20 minutes
Serves : 3
Recipe Category: Chutney
Recipe Cuisine: South Indian
Main ingredient - Coriander leaves
Author : Aruna

Ingredients 


Coriander leaves - 2 bunches

Tomatoes - 3
Green chillies - 7
Red chillies - 1
Tamarind - small lemon size
Turmeric powder - 1/4 tsp
Oil - 3 tsp
Salt as per needed

For seasoning 


Oil - 2 tsp

Mustard seeds - 1/2 tsp
Cumin seeds - 1 tsp
Urad & Chana dal - 1 tsp
Hing - 1 pinch
Curry leaves - 1 sprig
Red chilli - 1


Instructions to prepare coriander Tomato chutney

1) Clean coriander leaves, tomatoes and  green chillies in water well and cut into pieces  


2) Take a pan add 3 tsp of oil heat it for a second  then add green and red chillies. Fry it well for a minute. 


3) Add coriander leaves to the above. 


4) Fry it well on medium flame till it reduces it size. 


5) Add chopped tomatoes, salt and tamarind to the above fry it well on medium flame and close the lid. 


6) Cook it till the raw smell of tomatoes goes and cook well on medium flames. 


7) Switch off the flames. Take the above into plate and let it cool, then take it into mixer jar add turmeric powder. 


8) Grind the above coarsely without adding water. 


9) Take a pan add 2 tsp of oil let it heat, then add mustard seeds once it splutters add urad & Chana dal fry it till changes color then add cumin seeds, curry leaves, red chilli and hing one after other fry it. 


10) Seasoning is ready, add  prepared chutney to the above and mix it well. 


Tangy, tasty and flavored coriander tomato chutney is ready to serve😋. 


Check out video prepared with step by step pics.. 


Note


◆ Instead of hing you can also add garlic cloves. 


Tip 


• Do not grind it too smooth, grind it coarsely to get good taste. 


Also follow me

In facebook @Facebook
In Google+ @Google+
In pintrest @pintrest
In Instagram @Instagram Also drop your feedback 🤗😍.

You can also search recipe in BetterButter


Thanks for visiting my blog,
ArunaSaraschandra 😄


Monday 6 August 2018

Idli Upma recipe ~ how to prepare simple idli upma recipe

Idli is favourite and daliy tiffin recipe for us.  So we try varieties with idli like stuffed idli's, podi idli's etc., Today's recipe is very simple and easy upma using idli's. You can also prepare this upma using left over idli's. My mom use to prepare this idli upma for us as evening tiffin after coming from school😍. I like this upma alot mainly i like the roast part of upma which is very crispy 😋. 

You may also check other tiffin and pulao recipes here 

Lets start recipe

  
             Simple Idli Upma Recipe 

Preparation Time :  5 minutes  
Cook Time : 10 minutes
Serves : 1 bowl
Recipe Category: Tiffin/Breakfast
Recipe Cuisine: Indian
Main ingredient - Idli
Author : Aruna

Ingredients

Idli - 7
Onions 1 cup (roughly chopped)
Green chillies - 5
Mustard seeds - 1/4 tsp
Cumin seeds - 1 tsp
Chana & urad dal - 1 tsp
Curry leaves - 1 tsp
Coriander leaves - 1 tsp
Turmeric powder - 1/4 tsp
hing - 1 pinch
Salt - as per taste
Oil - 4 tsp


Instructions to prepare idli upma

1) Prepare idli Or use left over idli cut into pieces and crumble it by adding 1 tsp  oil. 


2) Take a pan add  3 tsp of oil heat it for a second add Mustard seeds once it splutters add urad and Chana dal fry it till it changes color then add cumin seeds fry it. 


3)  Add green chillies and curry leaves fry it well. 


4) Then add onions fry it by adding salt till it changes color. 


 5) Now add crumbled idli to the above onions. 


6)  Mix it well and keep it on low flames for few minutes, then add chopped coriander leaves mix it well and take it into plate. 


Tasty Idli upma is ready to serve😋. 

Check the video with step by step pics


Note

◆ You can also add Ginger while frying green chillies. 

Tip

●  You can skip adding  oil while crumbling idli. Adding oil wont stick the idli to your fingers. 

● We use idli's prepared using idli rava for this upma.

Also follow me
In facebook @Facebook
In Google+ @Google+
In pintrest @pintrest
In Instagram @Instagram Also drop your feedback 🤗😍.

You can also search recipe in BetterButter


Thanks for visiting my blog,
ArunaSaraschandra 😄


Saturday 4 August 2018

Vaamu akku bajji ~ Ajwain patee ke pakode ~ Doddapatre bajji

Vaamu aaku in telugu is also known as Doddaptre in kannada, ajwain patta in hindi, karpura valli in Tamil, carom leaves in English.  Carom leaves, carom seeds enhances the digestive function. As its raining in Adoni, thought to have some hot snacks. My mom told we will prepare vaamu akku bajji, i heard many times about this bajji but never tried. Today i did it for first time with my mom's instructions & home grown ajwain leaves.  It came very yummy , tasty and its very aromatic and main thing is it's  very easy to prepare 😉.

Also check my other bajji and snack recipes

                      vaamu aaku bajji

Preparation Time :  10 minutes  

Cook Time : 10 minutes
Serves : 12 bajjis
Recipe Category: Snack/bajji
Recipe Cuisine: Indian
Main ingredient - vaamu aaku
Author : Aruna

Ingredients 

Vaamu akku- 12 leaves
Gram flour/bean - 1 cup
Rice flour - 1/4 cup
Red chilli powder - 1 1/2 tsp
Cooking soda - a small pinch
Oil - to deep fry
Salt as per taste


 Instructions to prepare Vaamu akku bajji

1) Take carom leaves/vaamu aaku wash well without any dust and pat it with kitchen towel carefully without breaking leaf. 


2) Take a bowl add gram slour/besan/sanagapindi, rice flour, salt, red chilli powder, salt, cooking soda and mix it well. 


3) Add little amount of water mix it well without any lumps. 


4) Add 1 tsp of hot oil in the batter to thick consistency as bajji batter. 


 5) Take a pan add oil to deep fry and heat it on low flame. Check the oil heat by drop  little amount of batter in oil if it comes up then oil is ready to fry bajji. 


6) Take one ajwain  leaf in batter coat it both side, drop it in  oil  and fry it. 


7) Fry the bajji both sides till changes color both sides and bubbles stop. 


8) Take the above fried bajji in plate. 


9) Continues the same process for remaking carom leaves/ajwain patta/vaamu akku and take it in plate. 


Yummy, tasty, mouth watering  vaamu aaku bajji is ready to serve 😋😋. Enjoy this tasty bajji with cup of tea and enjoy rain 😍. 

Check out video using step by step pics..


Note

◆ Take fresh leaves to prepare bajji. 

◆ Clean the leaves carefully so that it does not break. 

Tips

 ● Adding rice flour makes bajji crispy. 

●  Mix batter by adding little water so that the batter mix well without any lumps. 

Also follow me
In facebook @Facebook
In Google+ @Google+
In pintrest @pintrest
In Instagram @Instagram Also drop your feedback 🤗😍.

You can also search recipe in BetterButter


Thanks for visiting my blog,
ArunaSaraschandra 😄