Mirchi Ka salan is one of the most famous side dish served with biryani in Hyderabad. It's popularly called as Hyderabadi Mirchi ka salan. Less hot green mirchi is used to prepare this classic side dish. The taste of this side dish is it's rich gravy prepared with fried groundnuts, coconut, sesame seeds. Green chillies are shallow fried in oil which gives good taste. And we need to add good amount of oil to get perfect taste and texture. In many recipes we use cashew nuts paste for gravies but we use ground nuts paste which gives unique taste to the gravy.

Today I am using tamarind juice we can also use curd too. We can also prepare stuffed mirchi ka salan with different stuffing in the same gravy. We can have this Hyderabadi Mirchi ka salan as sides dish for any plain pulao's/ biryani like Peas Pulao, Kashmiri Pulao, Coconut milk pulao etc., and also we can have it with any chapathi's, butter naans, kulchas etc., I had this mirchi ka salan with carrot rice 😋😋.

Got this badge 😍💃 from indiblogger

Hyderabadi Mirchi ka salan
Preparation Time : 10 minutes
Cook Time : 20 to 30 minutes
Serves : 6
Category : Gravies
Recipe Cuisine: Hyderabad
Main ingredients : Green chilli, Ground nuts
Author : ArunaSarasChandra
Ingredients
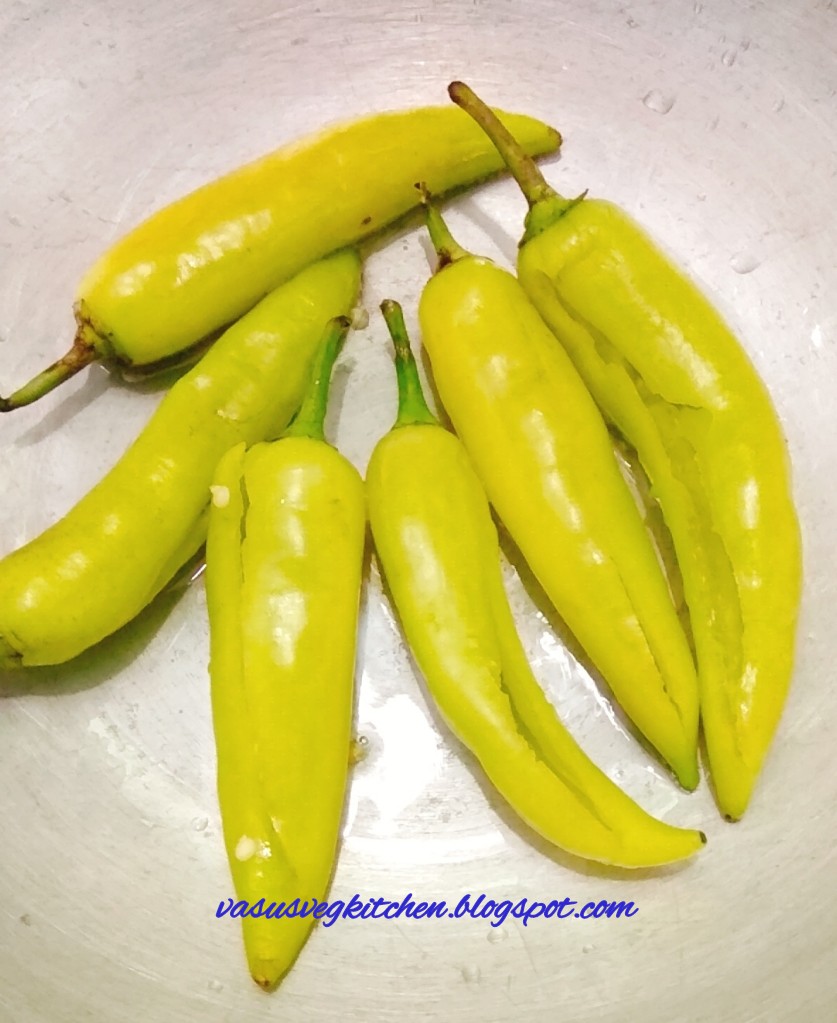
Less hot mirchi - 6
For grinding
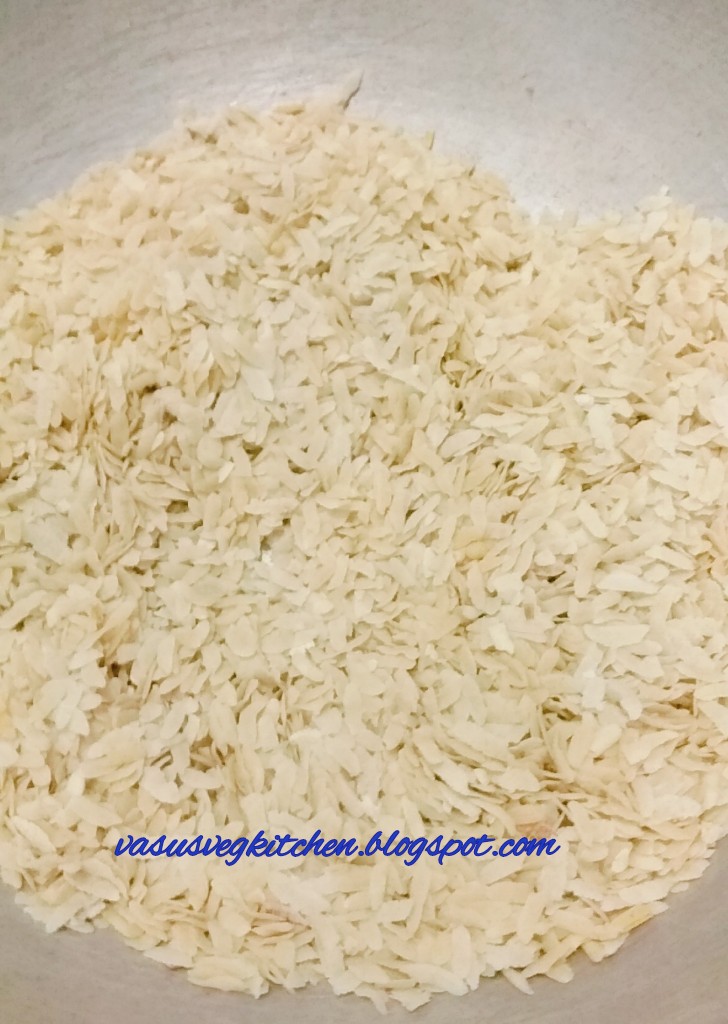
Ground nuts - 2 tsp
Sesame seeds/nuvullu - 11/2 tsp
Poppy seeds/gasagasalu - 1 tsp
Dry coconut - 1 to 11/2 tsp
Oil - 1 tsp
Onions- 2 (roughly chopped)
Ginger - 1/2 inch
Garlic - 3
For gravy
Mustard seeds - 1/2 tsp
Cumin seeds - 1/2 tsp
Curry leaves - 1 sprig
Red chilli powder - 1 tsp
Turmeric powder - 1/4 tsp
Garam masala - 1/2 tsp
Onions - 1 (finely chopped)
Oil - 5 tsp
Tamarind - small lemon size
Water - 2 cup(adjust accordingly)
Butter - 1 tsp
Salt as per taste
Instructions
1) Soak tamarind in 1/2 cup of hot water.
2) Take a pan add ground nuts, dry roast it on medium flames without burning.

3) Once groundnuts almost fried then add sesame seeds, poppy seeds and dry coconut fry it on low flames till the seeds pop up and then take it into plate.

4) Add 1 tsp of oil in the same pan and add onions.

5) Fry the onion on medium - low till it changes color, then add ginger and garlic fry once and take it into plate.

6) Once the fried items cooled grind it coarse paste. Do not grind it too paste.

7) Wash mirchi and tap it on dry cloth. Slit the mirchi in middle(do not slit upto end) and deseed it carefully.

8) Take a pan add 2 tsp of oil, fry above slit green chillies.

9) Fry it both sides carefully without breaking and take it into plate.

10) In the same pan add 3 tsp of oil let it heat for a second then add mustard seeds once it splutters add cumin seeds, curry leaves fry it well.

11) Now add finely chopped onions fry it well by adding salt.

12) Add Turmeric, Red chilli powders and mix it well.

13) Now add ground nuts masala paste to the above mix it well.

14) Add tamarind extract, garam masal and mix required amount of water mix everything well.

15) Now adjust water accordingly, mix everything once. Then add fried mirchi to the above.

16) Close the lid and cook 10 minutes on low flames till the mirchi absorbs gravy. Add 1 tsp of butter at last.

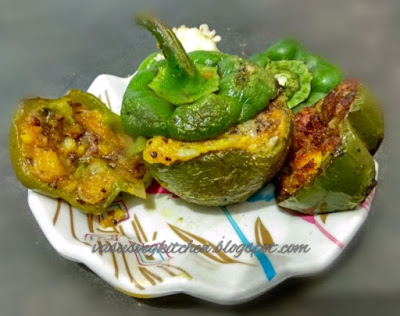
Yummy, delicious and tasty Hyderabadi Mirchi ka salan is ready to serve.

Note
◆ You can also use curd instead of tamarind juice to get the volume.
Adjust water as per requirment.
Adjust spices according to your taste.
Tips
● Use less hot green chillies otherwise we cannot enjoy it.
● Gravy must be thin, do not grind masala too smooth.
Check out few curry and other recipes👇
 Punjabi Dum Aloo


Kaju curry

 paneer butter masala
 Kadai Paneer
 khova paneer
 Stuffed paneer capsicum
Hope you like this yummy and delicious Hyderabadi Mirchi ka salan recipe. Give it a try and drop your comments in inbox.
Also follow me on
In facebook @Facebook
In Google+ @Google+
In pintrest @pintrest
In Instagram @Instagram Also drop your feedback 🤗😍.
You can also search recipe in BetterButter
in Indiblogger
in Plattershare
in MyTaste

Today I am using tamarind juice we can also use curd too. We can also prepare stuffed mirchi ka salan with different stuffing in the same gravy. We can have this Hyderabadi Mirchi ka salan as sides dish for any plain pulao's/ biryani like Peas Pulao, Kashmiri Pulao, Coconut milk pulao etc., and also we can have it with any chapathi's, butter naans, kulchas etc., I had this mirchi ka salan with carrot rice 😋😋.

Hyderabadi Mirchi ka salan
Preparation Time : 10 minutes
Cook Time : 20 to 30 minutes
Serves : 6
Category : Gravies
Recipe Cuisine: Hyderabad
Main ingredients : Green chilli, Ground nuts
Author : ArunaSarasChandra
Less hot mirchi - 6
For grinding
Ground nuts - 2 tsp
Sesame seeds/nuvullu - 11/2 tsp
Poppy seeds/gasagasalu - 1 tsp
Dry coconut - 1 to 11/2 tsp
Oil - 1 tsp
Onions- 2 (roughly chopped)
Ginger - 1/2 inch
Garlic - 3
For gravy
Mustard seeds - 1/2 tsp
Cumin seeds - 1/2 tsp
Curry leaves - 1 sprig
Red chilli powder - 1 tsp
Turmeric powder - 1/4 tsp
Garam masala - 1/2 tsp
Onions - 1 (finely chopped)
Oil - 5 tsp
Tamarind - small lemon size
Water - 2 cup(adjust accordingly)
Butter - 1 tsp
Salt as per taste
Instructions
1) Soak tamarind in 1/2 cup of hot water.
2) Take a pan add ground nuts, dry roast it on medium flames without burning.

3) Once groundnuts almost fried then add sesame seeds, poppy seeds and dry coconut fry it on low flames till the seeds pop up and then take it into plate.

4) Add 1 tsp of oil in the same pan and add onions.

5) Fry the onion on medium - low till it changes color, then add ginger and garlic fry once and take it into plate.

6) Once the fried items cooled grind it coarse paste. Do not grind it too paste.


8) Take a pan add 2 tsp of oil, fry above slit green chillies.
9) Fry it both sides carefully without breaking and take it into plate.

10) In the same pan add 3 tsp of oil let it heat for a second then add mustard seeds once it splutters add cumin seeds, curry leaves fry it well.

11) Now add finely chopped onions fry it well by adding salt.


13) Now add ground nuts masala paste to the above mix it well.

14) Add tamarind extract, garam masal and mix required amount of water mix everything well.

15) Now adjust water accordingly, mix everything once. Then add fried mirchi to the above.

16) Close the lid and cook 10 minutes on low flames till the mirchi absorbs gravy. Add 1 tsp of butter at last.

Yummy, delicious and tasty Hyderabadi Mirchi ka salan is ready to serve.

Note
◆ You can also use curd instead of tamarind juice to get the volume.
Adjust water as per requirment.
Adjust spices according to your taste.
Tips
● Use less hot green chillies otherwise we cannot enjoy it.
● Gravy must be thin, do not grind masala too smooth.
Check out few curry and other recipes👇


Kaju curry


Hope you like this yummy and delicious Hyderabadi Mirchi ka salan recipe. Give it a try and drop your comments in inbox.
Also follow me on
In facebook @Facebook
In Google+ @Google+
In pintrest @pintrest
In Instagram @Instagram Also drop your feedback 🤗😍.
You can also search recipe in BetterButter
in Indiblogger
in Plattershare
in MyTaste
Thanks for visiting my blog,
ArunaSaraschandra 😄