Thursday 10 January 2019

Gongura Pulihora, Roselle Leaves Rice,Red Sorrel leaves spicy rice, How to prepare Gongura pulihora

Gongura  Pulihora is traditional  and popular Andhra pulihora recipe. It is also called as Roselle and Red Sorrel in English, Pulicha keerai in Tamil, Pundi palya in Kannada. It comes in 2 different varieties, with green stem and with red stem. I got green stem roselle leaves in Wednesday market @Jolarpetai. But we use to get red color stem roselle leaves at mom's place @Adoni which is bit sour than green stem roselle.I never saw Roselle(Gongura) Flowers before, it's very beautiful🌺. ** I used very little amount of tamarind juice as I am using green stem roselle leaves, if you are using Red stem leaves avoid using tamarind juice. 


    It's spicy with tart flavour and taste. I just loved the flavours used in this pulihora where we use Methi seeds(menthulu), mustard seeds(avalu) and sesame seeds (nuvullu). It's very easy to prepare one pot meal. We can have it for lunch with a cup of fresh curd along with papad and sun dried chillies(majjiga  mirapakkay).


  The leaves decorated in the pic are Roselle(gongura) flowers as I used green stem Roselle flowers are green. Red stem roselle flowers are beautiful than green 😊🍁🌺

Let's start recipe 

              Gongura Pulihora

Preparation Time : 10 minutes
Cook Time : 20 minutes
Serves : 1 bowl
Category : Rice items / Pulihora
Recipe Cuisine: Andhra 
Main ingredients : Gongura/Red                                      Sorrel Leaves 

Author : ArunaSarasChandra

Ingredients

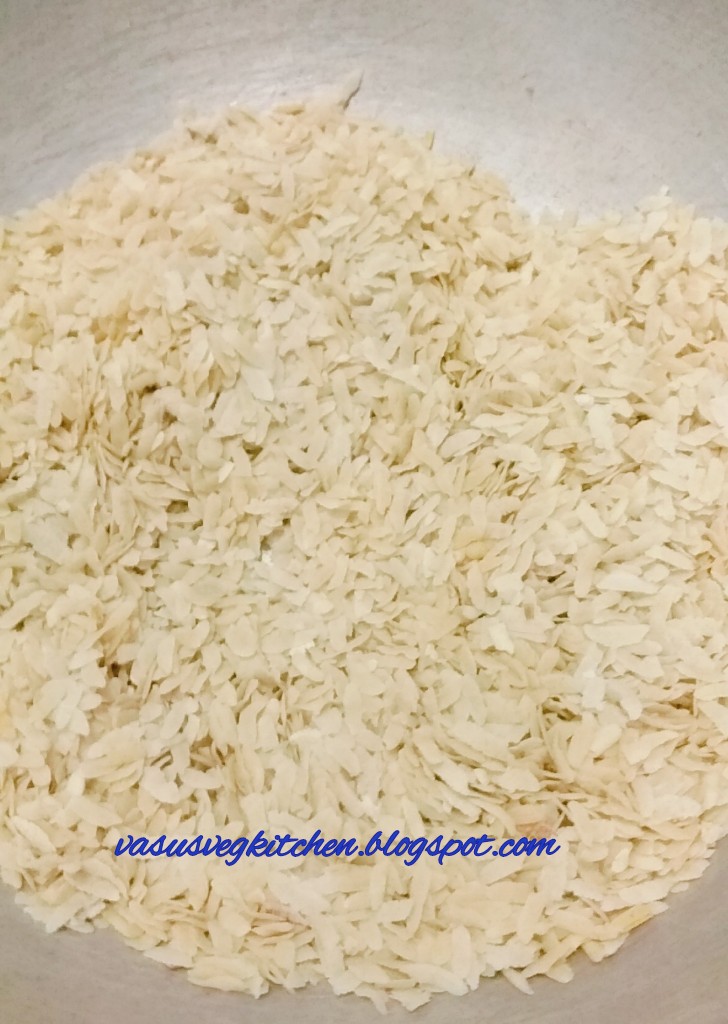
Cooked Rice - 1 bowl/2 cups(cook rice such that each grain is seperated)
Oil - 1/2 tsp
Turmeric powder - 1/4 tsp

For grinding

Gongura/ Red Sorrel - 1bunch
Sesame seeds(nuvullu) - 11/2 tsp
Mustard seeds (avallu)- 1/2 tsp
Methi seeds(Menthullu) - 1/4 tsp
Red chilli - 2 to 4 


For seasoning

Oil - 3 tsp
Ground nuts - 3 tsp
Mustard seeds - 1/2 tsp
Cumin seeds - 1 tsp
Urad & Chana dal - 1 tsp
Curry leaves - 1 sprig
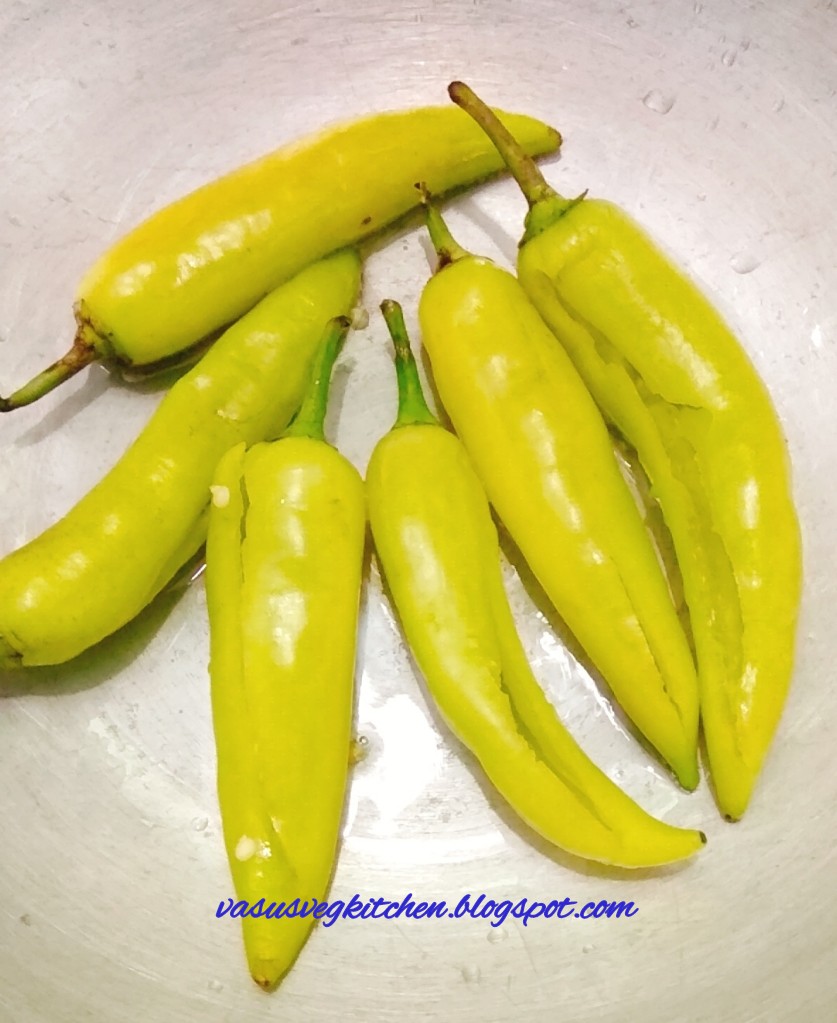
Green chilli - 4 to 5
Red chilli - 2 
Hing - 1 pinch
Tamarind juice - 1 tsp(optional)
Salt - as per taste


Instructions

1) Wash and soak rice for 15 minutes. For 1 glass rice add 2 glasses of water and 1/2 tsp of oil and cook it. Later spread the rice into plate and add turmeric powder. Also extract  1 tsp of tamarind juice and keep it ready. 


2) While cooking rice lets prepare for pulihora paste. Take a bunch of red/green sorrel remove only leaves from it. 


3) Wash the leaves in water 2 to 3 times. 


4) Take a pan dry fry sesame, mustard, Methi seeds along with red chilli and take it in to plate. Do not burn it, fry it on low flames.


5) Now add 1 tsp of oil and then add washed red/ green sorrel leaves and fry it. 


6) Fry the leaves till it becomes smooth and water evaporates. Let it cool. 


7) Take a mixer jar add fried seeds and chilli first, grind it to fine powder. 


8) Now add fried gongura to the above and grind it to a paste.  And take the paste into cup. If need add little amount of water. 


9) Dry fry groundnuts and take it into plate.


10) Add 3 tsp of oil let it heat for a second then add mustard seeds once it start splutters add urad and Chana dal. Once they started changing color add cumin seeds, hing curry leaves  red & green chillies one after other and fry it on medium to low flames. 


11) Now add grinded paste, 1 tsp of tamarind juice mix everything well on medium flames fry it till oil oozes out. 


12) Now add salt, fried ground nuts (half) and mix everything well and switch off the flames. 


13) Now add 1/2 part of pulihora paste to the rice and mix it well. 


14) If required add some more paste and mix well by adding remaining ground nuts. 


Yummy, tasty and delicious Gongura pulihora is ready. Serve it with papad, sun dried mirchi, curd and enjoy😋😋. 


Note

 * You can add ground after adding urad and Chana dal too. I like crunchy groundnuts so I added later. 

* Adjust red chillies according to your red chilli spicy. Red chilli I used are very spicy so I used only two, otherwise you can add 3 to 5 red chillies. 

* You can avoid tamarind juice still if you are using green stem leaves according to your wish. 

Tips

** By adding 1 tsp of oil while cooking rice will makes rice  fluffy and each grain separated which is very important to get perfect pulihora. 

** Keep Gongura Pulihora aside for minimum 1 hr aside before serving to get perfect taste. 

** Do not add pulihora paste all at once. As it becomes to sour. 

Also Check other Rice and  chutney varieties by clicking the link below image👇


   Amla Rice/ Usirikaya Pulihora


                 Brinjal chutney


                   Kobbari perugu pachadi


         Coriander Tomato chutney


                        Cocnut Chutney


            Raw Mango Moong dal chutney

                  Pudina coconut chutney

Hope you like this traditional Gongura Pulihora recipe. Give it a try and drop your comments in inbox.

Also follow me on
In facebook @Facebook
In Google+ @Google+
In pintrest @pintrest
In Instagram @Instagram Also drop your feedback 🤗😍.

You can also search recipe in BetterButter

in Indiblogger
in Plattershare
in MyTaste


Thanks for visiting my blog,
ArunaSaraschandra 😄


Sunday 6 January 2019

Mirchi Ka salan, Hyderabadi Mirchi ka salan, How to prepare Mirchi ka salan

Mirchi Ka salan is one of the most famous side dish served with biryani in Hyderabad. It's popularly called as Hyderabadi Mirchi ka salan. Less hot green mirchi is used to prepare this classic side dish. The taste of this side dish is it's rich gravy prepared with fried groundnuts, coconut, sesame seeds. Green chillies are shallow fried in oil which gives good taste. And we need to add good amount of oil  to get perfect taste and texture. In many recipes we use cashew nuts paste for gravies but we use ground nuts paste which gives unique taste to the gravy. 


       Today I am using tamarind juice we can also use curd too. We can also prepare stuffed mirchi ka salan  with  different stuffing in the same gravy. We can have this Hyderabadi Mirchi ka salan as sides dish for any plain pulao's/ biryani like Peas PulaoKashmiri PulaoCoconut milk pulao etc., and also we can have it with any chapathi's, butter naans, kulchas etc., I had this mirchi ka salan with carrot rice 😋😋. 


Got this badge 😍💃 from indiblogger
  Featured post on IndiBlogger, the biggest community of Indian Bloggers
  
     Hyderabadi Mirchi ka salan

Preparation Time : 10 minutes
Cook Time : 20 to 30 minutes
Serves : 6 
Category : Gravies
Recipe Cuisine: Hyderabad
Main ingredients : Green chilli,                                        Ground nuts
Author : ArunaSarasChandra


Ingredients

Less hot mirchi - 6

For grinding

Ground nuts - 2 tsp
Sesame seeds/nuvullu - 11/2 tsp
Poppy seeds/gasagasalu - 1 tsp
Dry coconut - 1 to 11/2 tsp
Oil - 1 tsp
Onions- 2 (roughly chopped)
Ginger - 1/2 inch
Garlic - 3

For gravy 

Mustard seeds - 1/2 tsp
Cumin seeds - 1/2 tsp
Curry leaves - 1 sprig
Red chilli powder - 1 tsp
Turmeric powder - 1/4 tsp
Garam masala - 1/2 tsp
Onions - 1 (finely chopped)
Oil - 5 tsp
Tamarind - small lemon size
Water - 2 cup(adjust accordingly)
Butter - 1 tsp
Salt as per taste


Instructions

1) Soak tamarind in 1/2 cup of hot water. 

2) Take a pan add ground nuts, dry roast it on medium flames without burning. 


3) Once groundnuts almost fried then add sesame seeds, poppy seeds and dry coconut fry it on low flames till the seeds pop up and then take it into plate. 


4) Add 1 tsp of oil in the same pan and add onions. 


5) Fry the onion on medium - low till it changes color, then add ginger and garlic fry once and take it into plate. 


6) Once the fried items cooled grind it coarse paste. Do not grind it too paste. 


7) Wash mirchi and tap it on dry cloth. Slit the mirchi in middle(do not slit upto end) and deseed it carefully.


8) Take a pan add 2 tsp of oil, fry above slit green chillies. 


9) Fry it both sides carefully without breaking and take it into plate. 


10) In the same pan add 3 tsp of oil let it heat for a second then add mustard seeds once it splutters add cumin seeds, curry leaves fry it well. 


11) Now add finely chopped onions fry it well by adding salt. 


 12) Add Turmeric, Red chilli powders and mix it well. 


13) Now add ground nuts masala paste to the above mix it well. 


14) Add tamarind extract, garam masal and mix required amount of water mix everything well. 


15) Now adjust water accordingly, mix everything once. Then add fried mirchi to the above. 


16) Close the lid and cook 10 minutes on low flames till the mirchi absorbs gravy.  Add 1 tsp of butter at last. 


Yummy, delicious and tasty Hyderabadi Mirchi ka salan is ready to serve. 


Note

◆ You can also use curd instead of tamarind juice to get the volume. 

 Adjust water as per requirment.

 Adjust spices according to your taste.

Tips

● Use less hot green chillies otherwise we cannot enjoy it. 

● Gravy must be thin, do not grind masala too smooth.

Check out few curry  and other recipes👇 


               Punjabi Dum Aloo


                              Kaju curry


                         Green Peas Pulao


               paneer butter masala


                          Kadai Paneer


                      khova paneer 


          Stuffed paneer capsicum

Hope you like this yummy and delicious Hyderabadi Mirchi ka salan recipe. Give it a try and drop your comments in inbox.

Also follow me on
In facebook @Facebook
In Google+ @Google+
In pintrest @pintrest
In Instagram @Instagram Also drop your feedback 🤗😍.

You can also search recipe in BetterButter

in Indiblogger
in Plattershare
in MyTaste


Thanks for visiting my blog,
ArunaSaraschandra 😄


Tuesday 1 January 2019

Poha Badam Laddu using jaggery, Aval Badam Laddu, Atukulu Badam Ladoo

Wish you happy new year to all, Hope this new year will brings you all good health, wealth, joy, fun and happy 😍. Eat healthy and stay healthy and always keep smiling😊. This year my first post is sweet - Ladoo - Poha Badam Laddu. Which is healthy, crunchy and tasty and very easy to prepare.  Here we use thick poha to prepae this poha badam laddu. As i mentioned badam yes i love to add badam in many recipes , as it is not only healthy but also adds good taste to the laddu. I am using powdered palm jaggery which is very healthy. Adding good amount of ghee to mould this ladoo also gives divine taste and increases the shell life of Poha Badam Laddu. Regularly I prepare this ladoo for Krishna Ashtami festival. 


          Atukulu Badam Laddu

Preparation Time : 10 minutes
Cook Time : 15  minutes
Serves : 7 ladoos
Category : Desserts/Sweets
Recipe Cuisine: Indian 
Main ingredients : Poha, Badam
Author : ArunaSarasChandra

Ingredients

Poha/Atukulu/Aval - 1 cup
Badam - 25
Powdered palm Jaggery - 3/4 cup
Elachi powder - 1 tsp
Ghee - 1/2 cup
Cashew nuts - 7
Raisins - 7
Milk - very little(I Dint used)

Instructions

1) Take a pan add poha dry fry till it become crispy and changes color then take it into plate and let it cool. 


2)  In the same pan add 2 tsp of ghee let it heat for a second then add cashew nuts, raisins fry it till changes color and raisins turns fluffy. And take it into cup. 


3) Take a mixer jar add fried Poha/atukulu and badam. 


4) Grind the above to fine powder. 


5) Now add elachi powder and powdered jaggery to the above. 


6) Grind the above to fine powder. 


7) Take the above powder into plate add fried cashew nuts and raisins along with ghee. 


8) start moulding ladoo by adding little amount of ghee. If you not able to mould ladoo then add some more ghee.


9) Add more ghee and mould ladoo. 


Yummy, tasty and healthy Poha Badam ladoo's are ready😋😋😍. 


Note

◆ Instead of jaggery you can also use sugar. 

◆ You d't like adding more ghee while moulding ladoo's. You can use little amount of milk. 

◆ You can skip adding nuts and raisins. 

Tips

● Important point is to use ghee to mould ladoo to get divine taste. 

● In order to increase shell life of poha badam ladoo use ghee instead of milk to mould ladoo's. 

● You can store it for more than 1 week if you are moulding ladoo using ghee.  If you are using milk then use it within 3 days otherwise you can got smell and taste also changes. 


        Sabudana Coconut Ladoo


          Almond Mango Sandesh


  Puffed Rice/Maramarala LAdoo


                        Kaju Katli


Hope you like this Poha Badam Ladoo recipe. Give it a try and drop your comments in inbox.

Also follow me on
In facebook @Facebook
In Google+ @Google+
In pintrest @pintrest
In Instagram @Instagram Also drop your feedback 🤗😍.

You can also search recipe in BetterButter

in Indiblogger
in Plattershare
in MyTaste


Thanks for visiting my blog,
ArunaSaraschandra 😄